For the complete documentation index, see llms.txt. Append
.mdto any page URL for its markdown version.
The Partner Dashboard gives you self-service control over your Banxa integration. Use it to manage team access, configure your checkout experience, set up webhooks, and look up orders to support your customers.
The dashboard supports both Sandbox and Production environments. The top bar shows which environment you are in. Open the environment menu there to switch between them.
Always configure and validate settings in Sandbox before applying them to Production. Configuration changes take approximately 15 minutes to take effect on the live checkout.

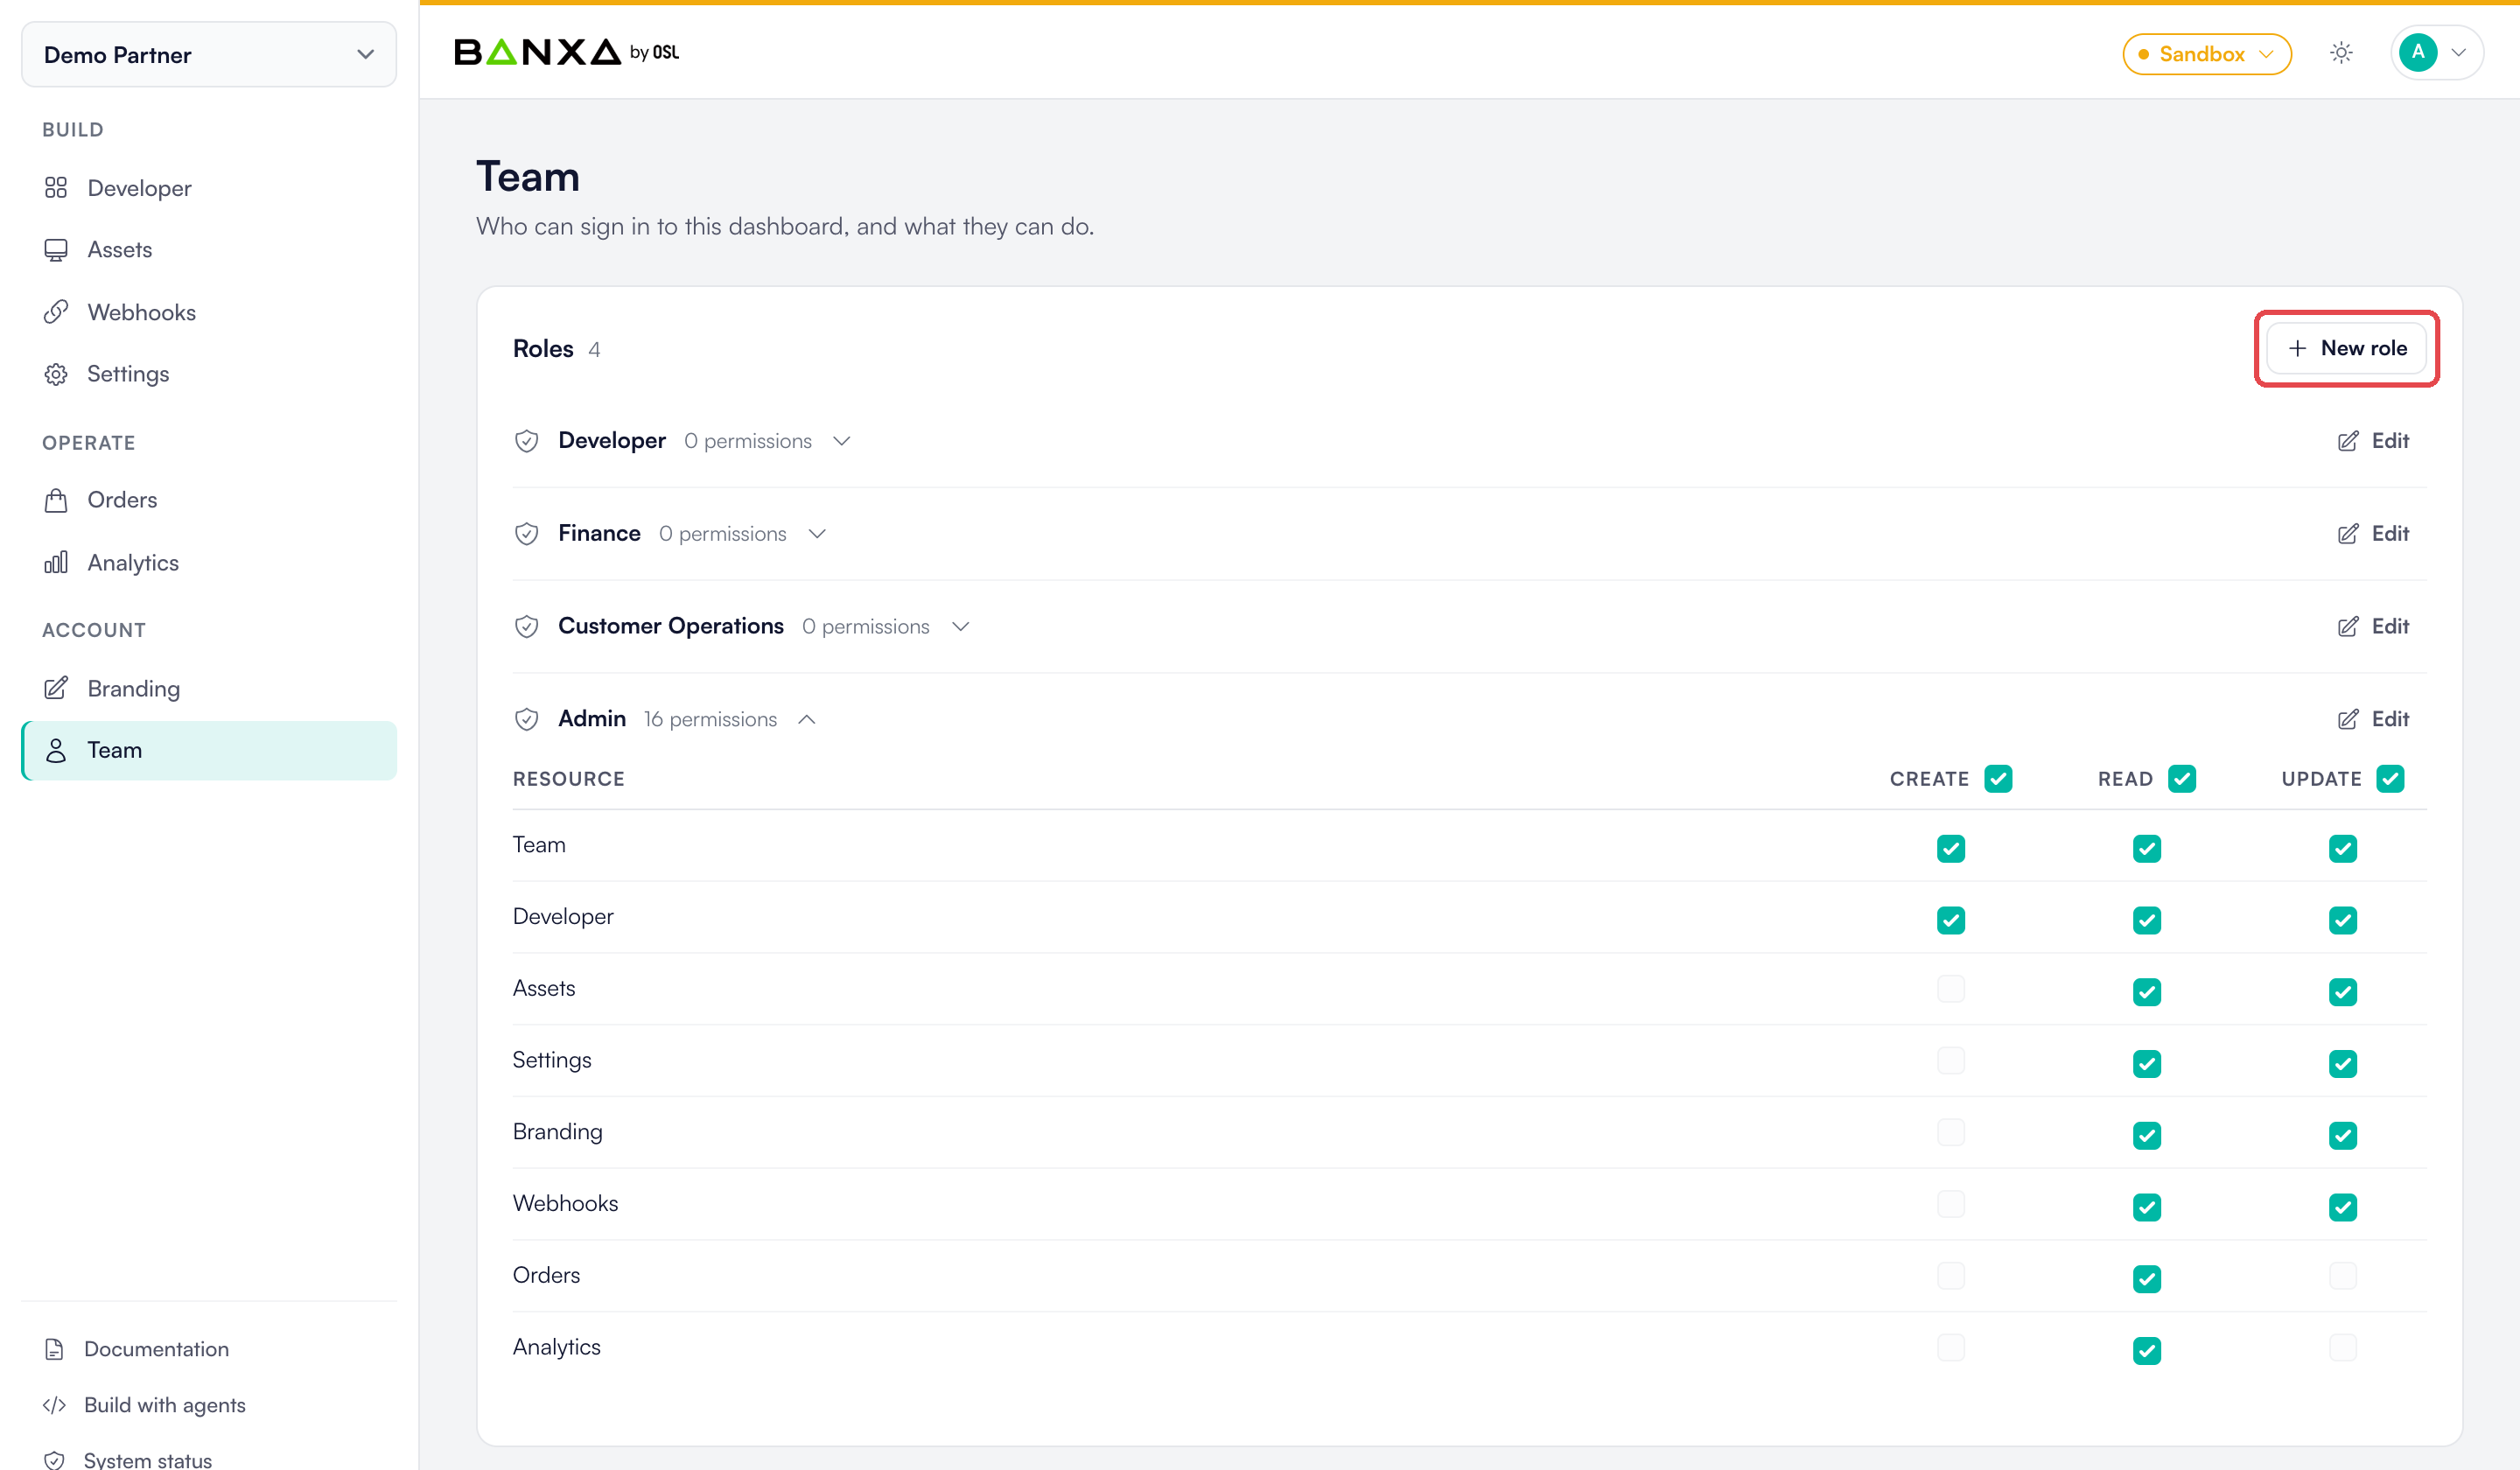
Before adding team members, create roles with the appropriate permission sets. Permissions are set at the page level — a user without "Read" permission for a given page will not be able to view it.
- Go to Team in the sidebar.
- Click New role.
- Name the role — for example: "Developer", "Customer Operations", or "Admin" — and click Submit.
- Expand the role and tick the Create, Read and Update permissions it needs for each page.
- Click Save changes.
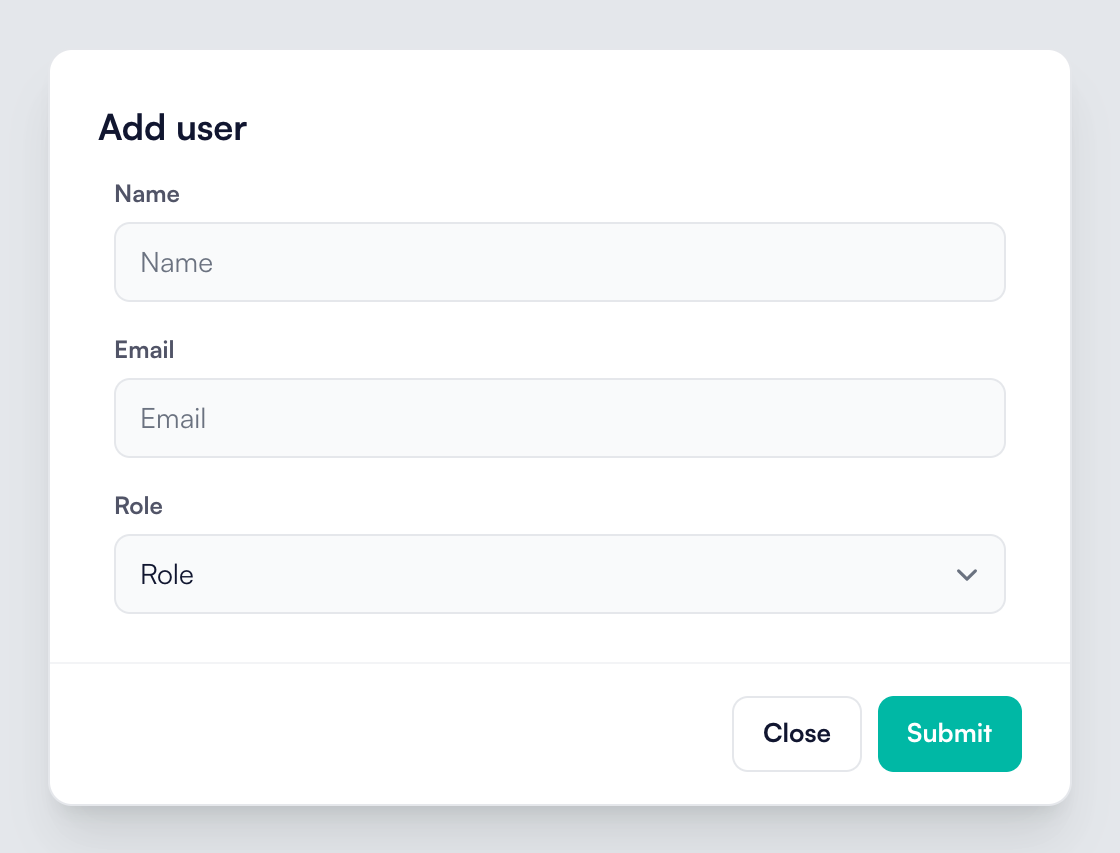
- On the Team page, click Add user.
- Enter the user's name, email address, and role.
- Click Submit.
The user receives a registration email with instructions to set up their account. When they log in they will have the permissions assigned to their role.
Your API key and sandbox credentials are available from the dashboard. Use the environment menu in the top bar to view credentials for each environment separately.
Enter the endpoint URL where Banxa should send order status notifications. You can set separate webhook URLs for Sandbox and Production.
Once saved, use the Send button to test the webhook — Banxa will send a test payload to the configured URL and display the result.
For payload structure and verification, see the Webhooks article in this documentation.
The URL the user will be redirected to after the buy flow has been completed. In the case of an order failure or cancellation, the redirectUrl will be appended with the status, e.g. /?status=failure, /?status=cancel. If you pass redirectUrl in your API request, that value takes precedence over the dashboard setting.
When a Return URL is configured, enable this setting to have Banxa append order details to the return URL as query parameters. This lets you read the outcome without an additional API call and deep-link customers to specific pages in your application.
Parameters appended on return:
| Parameter | Description |
|---|---|
orderId | Banxa order ID |
orderRef | Banxa internal order reference |
orderStatus | Overall status of the order |
fulfillmentStatus | Sub-status for the progress of crypto transfer |
paymentStatus | Sub-status for the progress of fiat payment |
identityStatus | Sub-status for the progress of the customer's KYC |
fiatAmount | Fiat amount |
fiat | Fiat currency code |
coinAmount | Crypto amount |
coin | Cryptocurrency code |
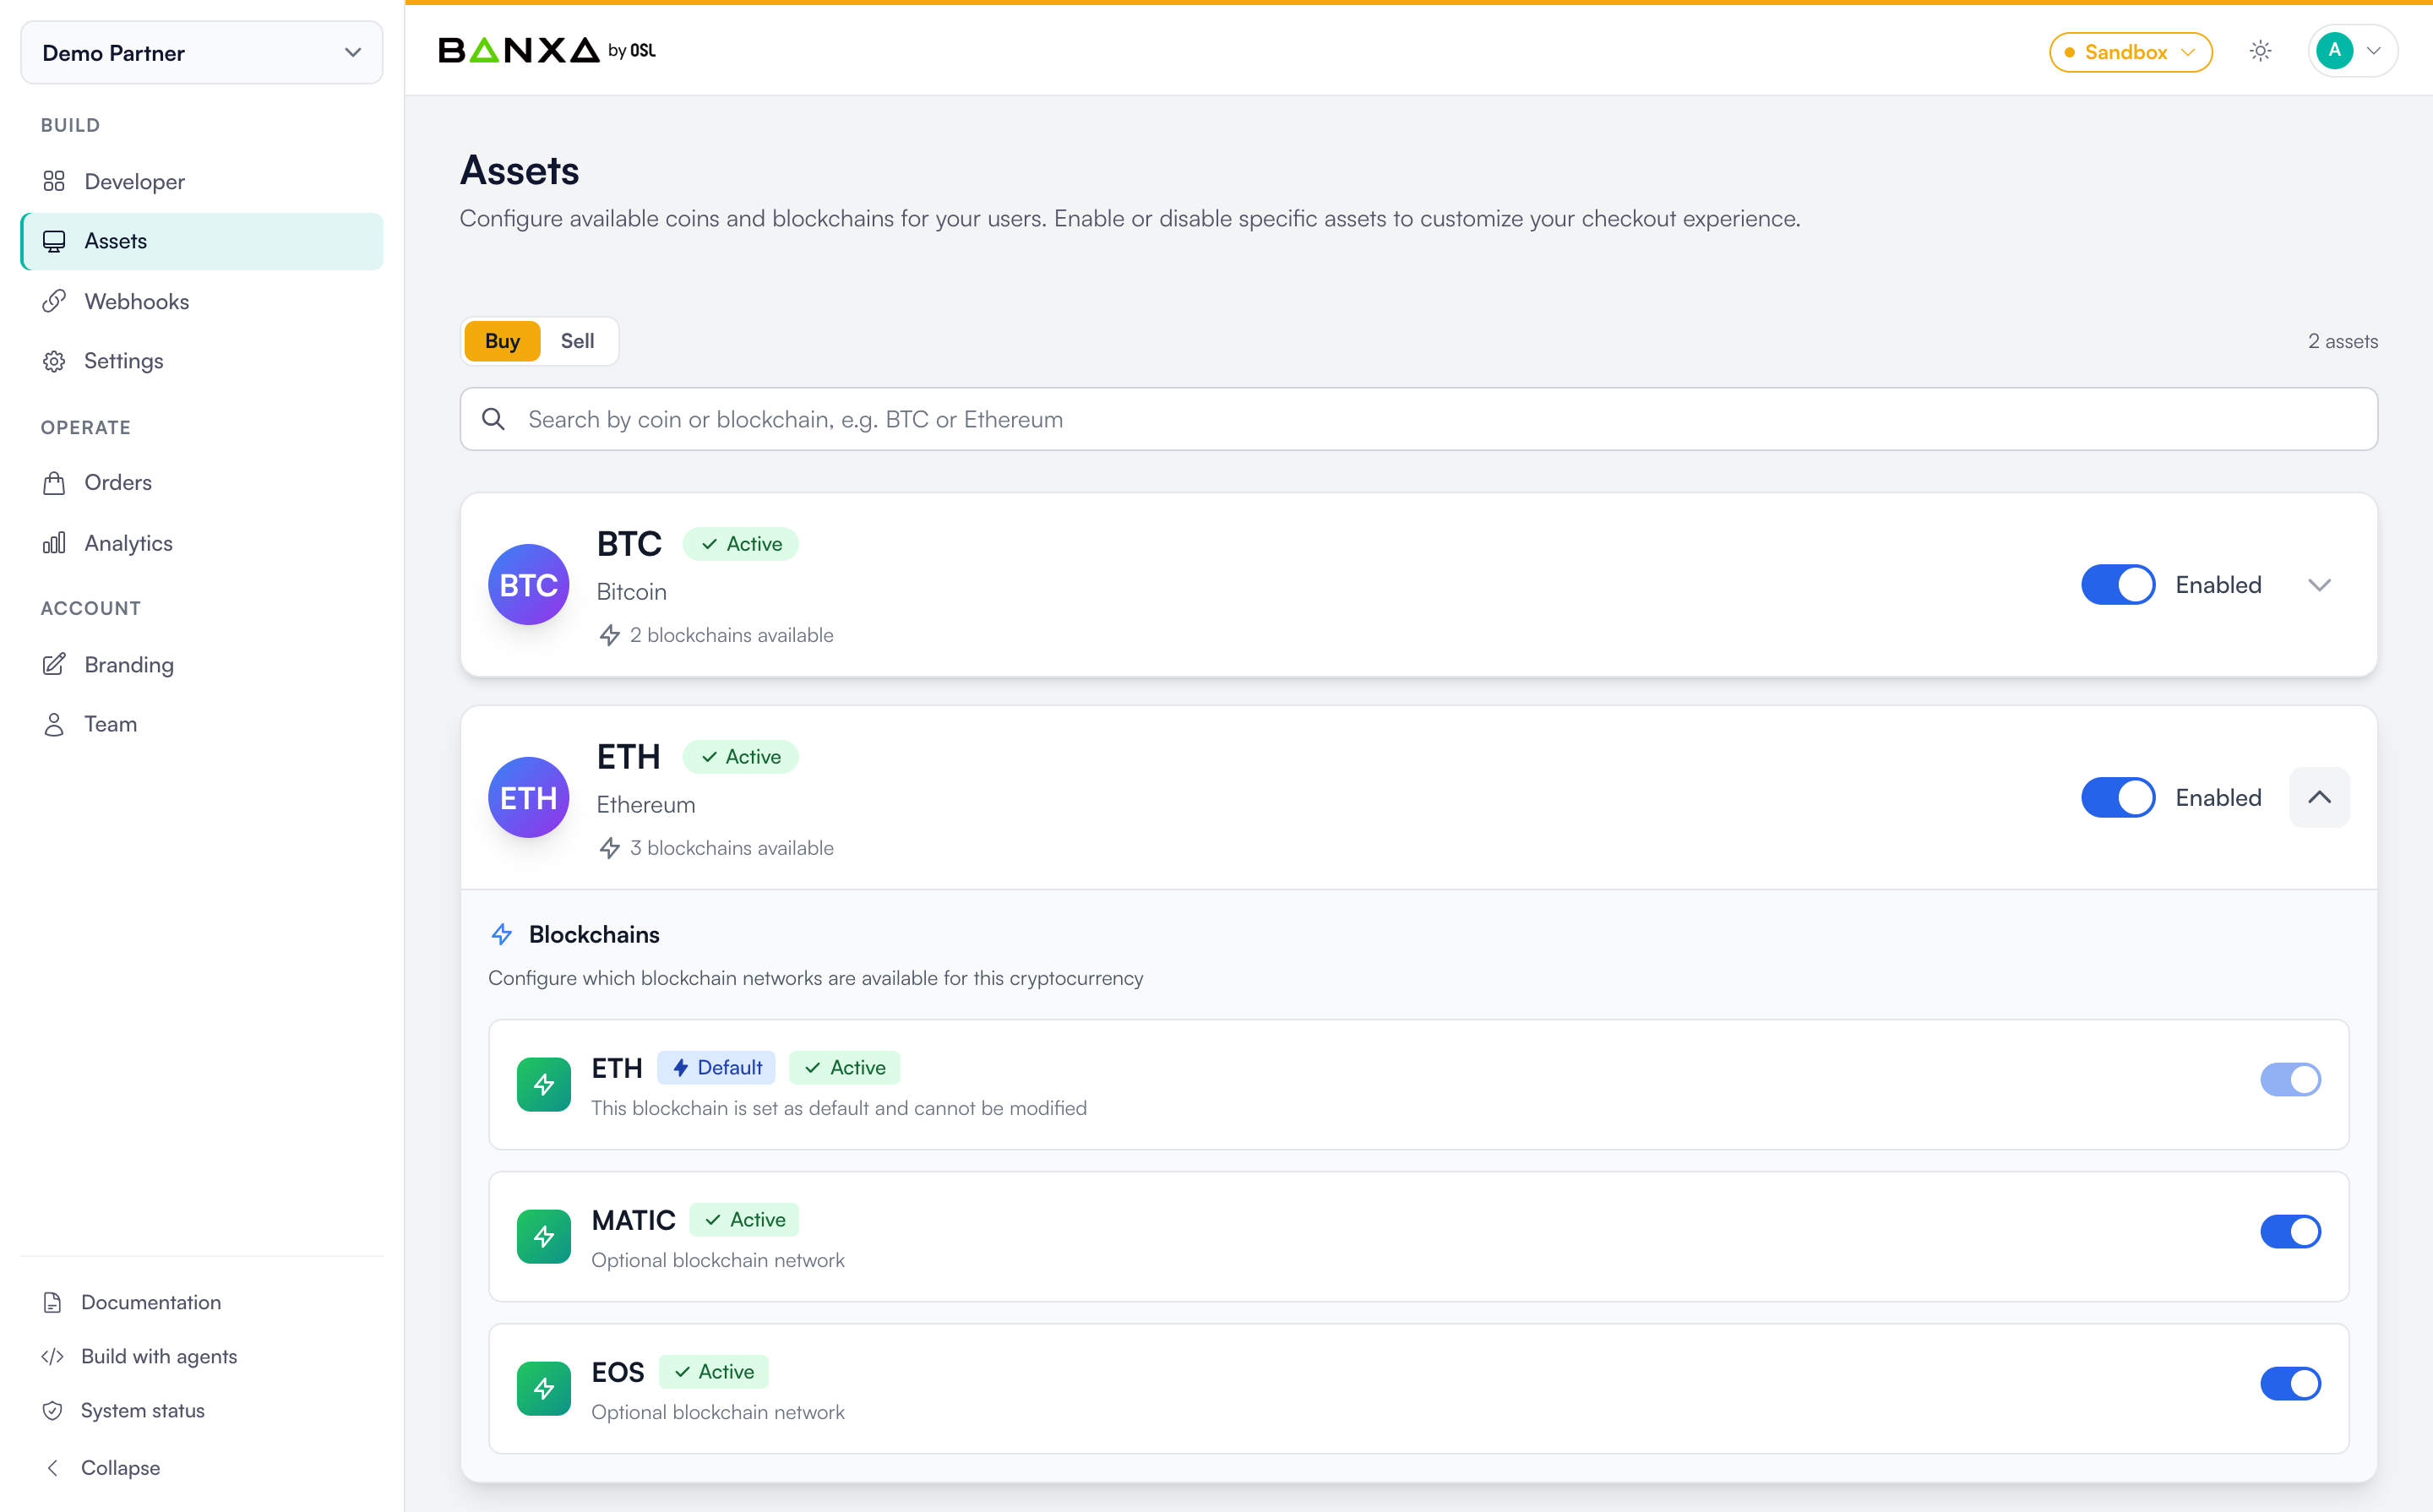
Select which cryptocurrencies and blockchain networks are available to your customers. All options are enabled by default — deselect any you do not want to offer. Native tokens for a blockchain cannot be deselected.
Sets the pre-selected cryptocurrency shown to customers when they arrive at the checkout.
When enabled, the fiat currency, cryptocurrency, and amount fields passed via the API are displayed as read-only in the checkout. Customers cannot change these values. When disabled, customers can edit these selections.
When enabled, the customer's wallet address (and memo/tag if provided) is displayed in the checkout. When disabled, these are hidden.
When enabled, the return button on the order summary page is hidden. Use this if you want to render your own close or return control over the Banxa screen.
Controls whether customers can connect their wallet directly on the Banxa checkout using MetaMask or WalletConnect.
The logo displayed on all pages of the Banxa checkout flow. Upload an image with a maximum height of 70 pixels.
Your brand colour, used for buttons, highlighted text, and checkboxes.
The colour used for button hover effects.
Sets the default checkout theme to Light or Dark mode. If the customer changes the theme from their browser settings, their preference overrides this default.
When enabled, hides both the Banxa logo and your partner logo on all pages of the checkout journey.
Applies a custom solid background colour to all pages of the checkout journey.
Use the Orders page to view the live status of customer orders. You can search by:
- Email address
- Wallet address
- Order ID
- Order Reference
Click any result to view the full order detail and status history. Use the environment menu in the top bar to switch between Sandbox and Production orders.
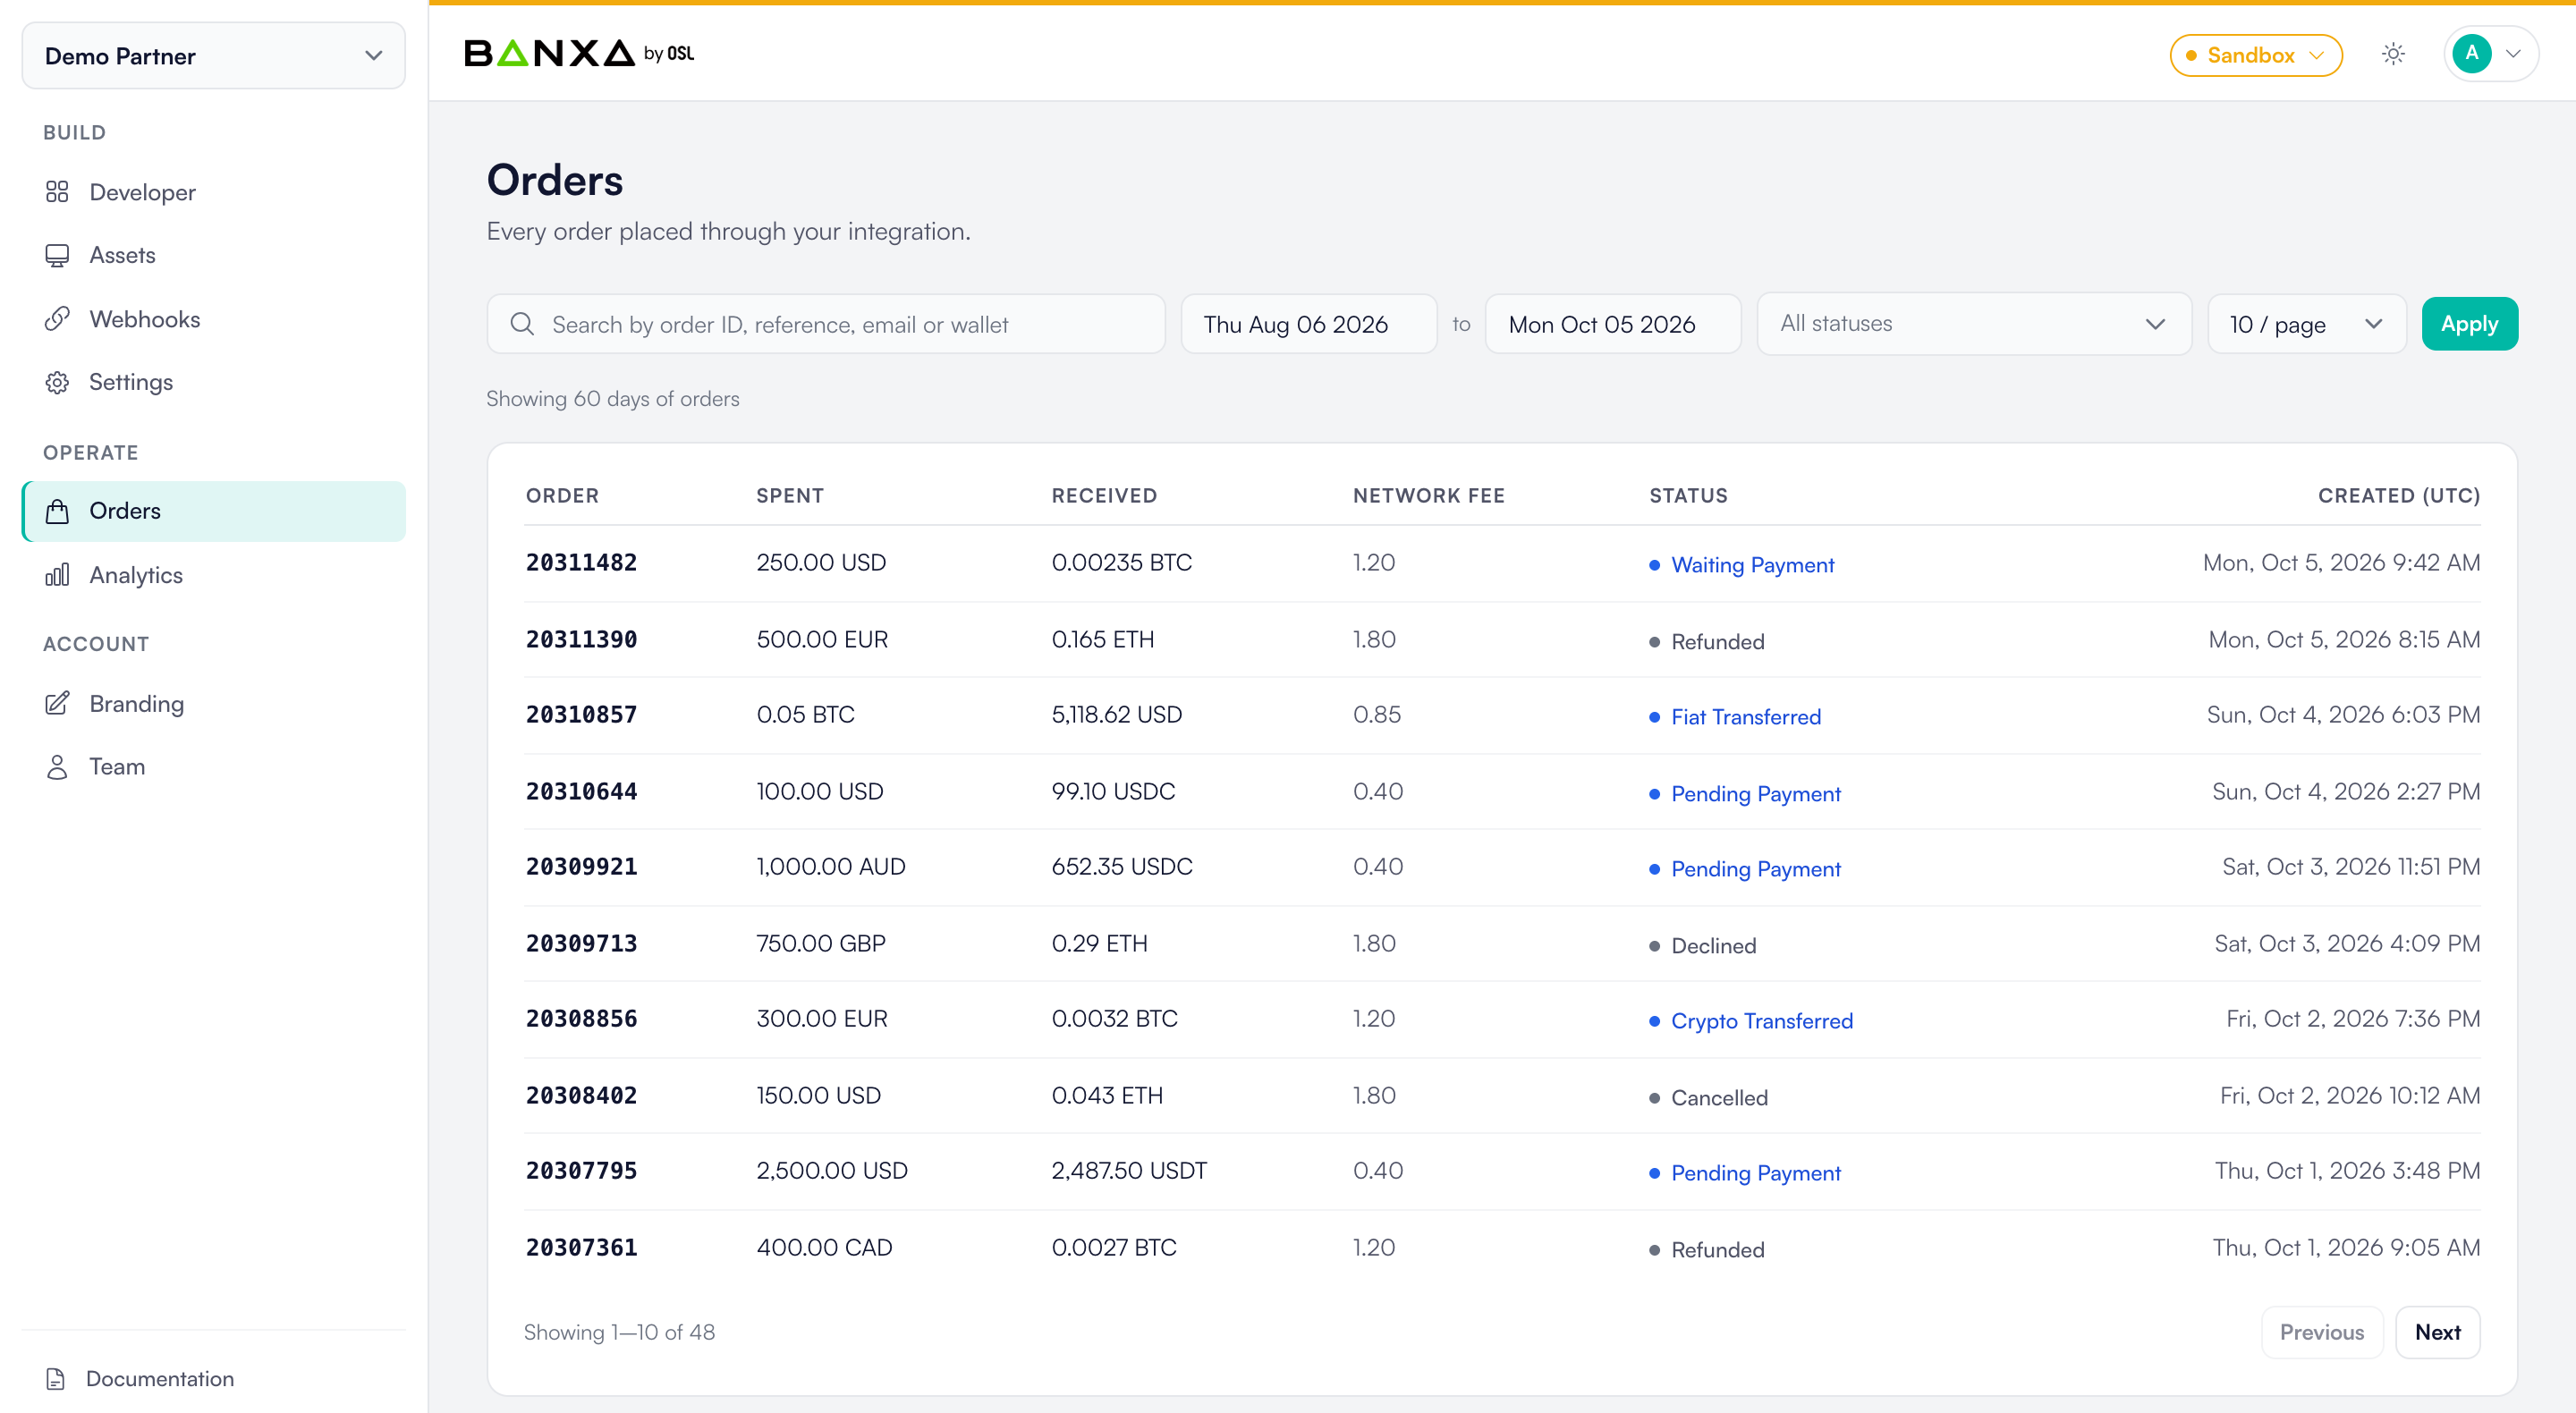
Use the table below to understand each order status and respond to customer support queries.
| Status | Description | Suggested customer response |
|---|---|---|
pendingPayment | Order created, awaiting KYC and payment submission. | Banxa has received your KYC information and is awaiting your payment to complete the order. |
waitingPayment | Payment has not yet been received — either not yet made or still in transit. | Your payment has not yet been received by Banxa. If you have already made the payment, it may still be in transit. Once received, your order will be processed. |
paymentReceived | Payment received and confirmed. Order is being processed. | Your payment has been received by Banxa and confirmed. We are now processing your order. |
coinTransferred / cryptoTransferred | Crypto transaction submitted to the blockchain. | Your cryptocurrency transaction has been submitted to the blockchain and is awaiting confirmation, at which point you will receive your funds. |
complete | Order fulfilled. | Buy: Your order is complete. Your cryptocurrency is now available on the blockchain — check the transaction hash for details. Sell: Your order is complete. Payment has been sent to your bank account. Allow up to 3 business days for it to appear. |
extraVerification | Additional identity or address verification required. | Your order requires additional verification. Banxa's support team will contact you by email shortly to help complete the process. |
declined | Payment declined by the customer's bank. | Your order was declined by your financial institution. Please contact your bank's support team for further assistance. |
cancelled | Payment cancelled by the customer. | Your payment was cancelled. Please create a new order if you wish to proceed. |
expired | Order not completed — KYC incomplete, payment failed, or order abandoned. | Your order has expired because it was not completed within the required timeframe, or your KYC or payment was unsuccessful. Please create a new order to proceed. |
refunded | Order refunded by Banxa — at customer request or due to a rejected payment (e.g. third-party payment). | Buy: Your order has been refunded. Allow up to 14 days for the amount to appear in your account. Sell: Your order has been refunded — check the transaction hash for details. |
The Analytics page gives you visibility into your integration's transaction volume and customer activity over time. Use it to monitor performance trends and export data for reporting.
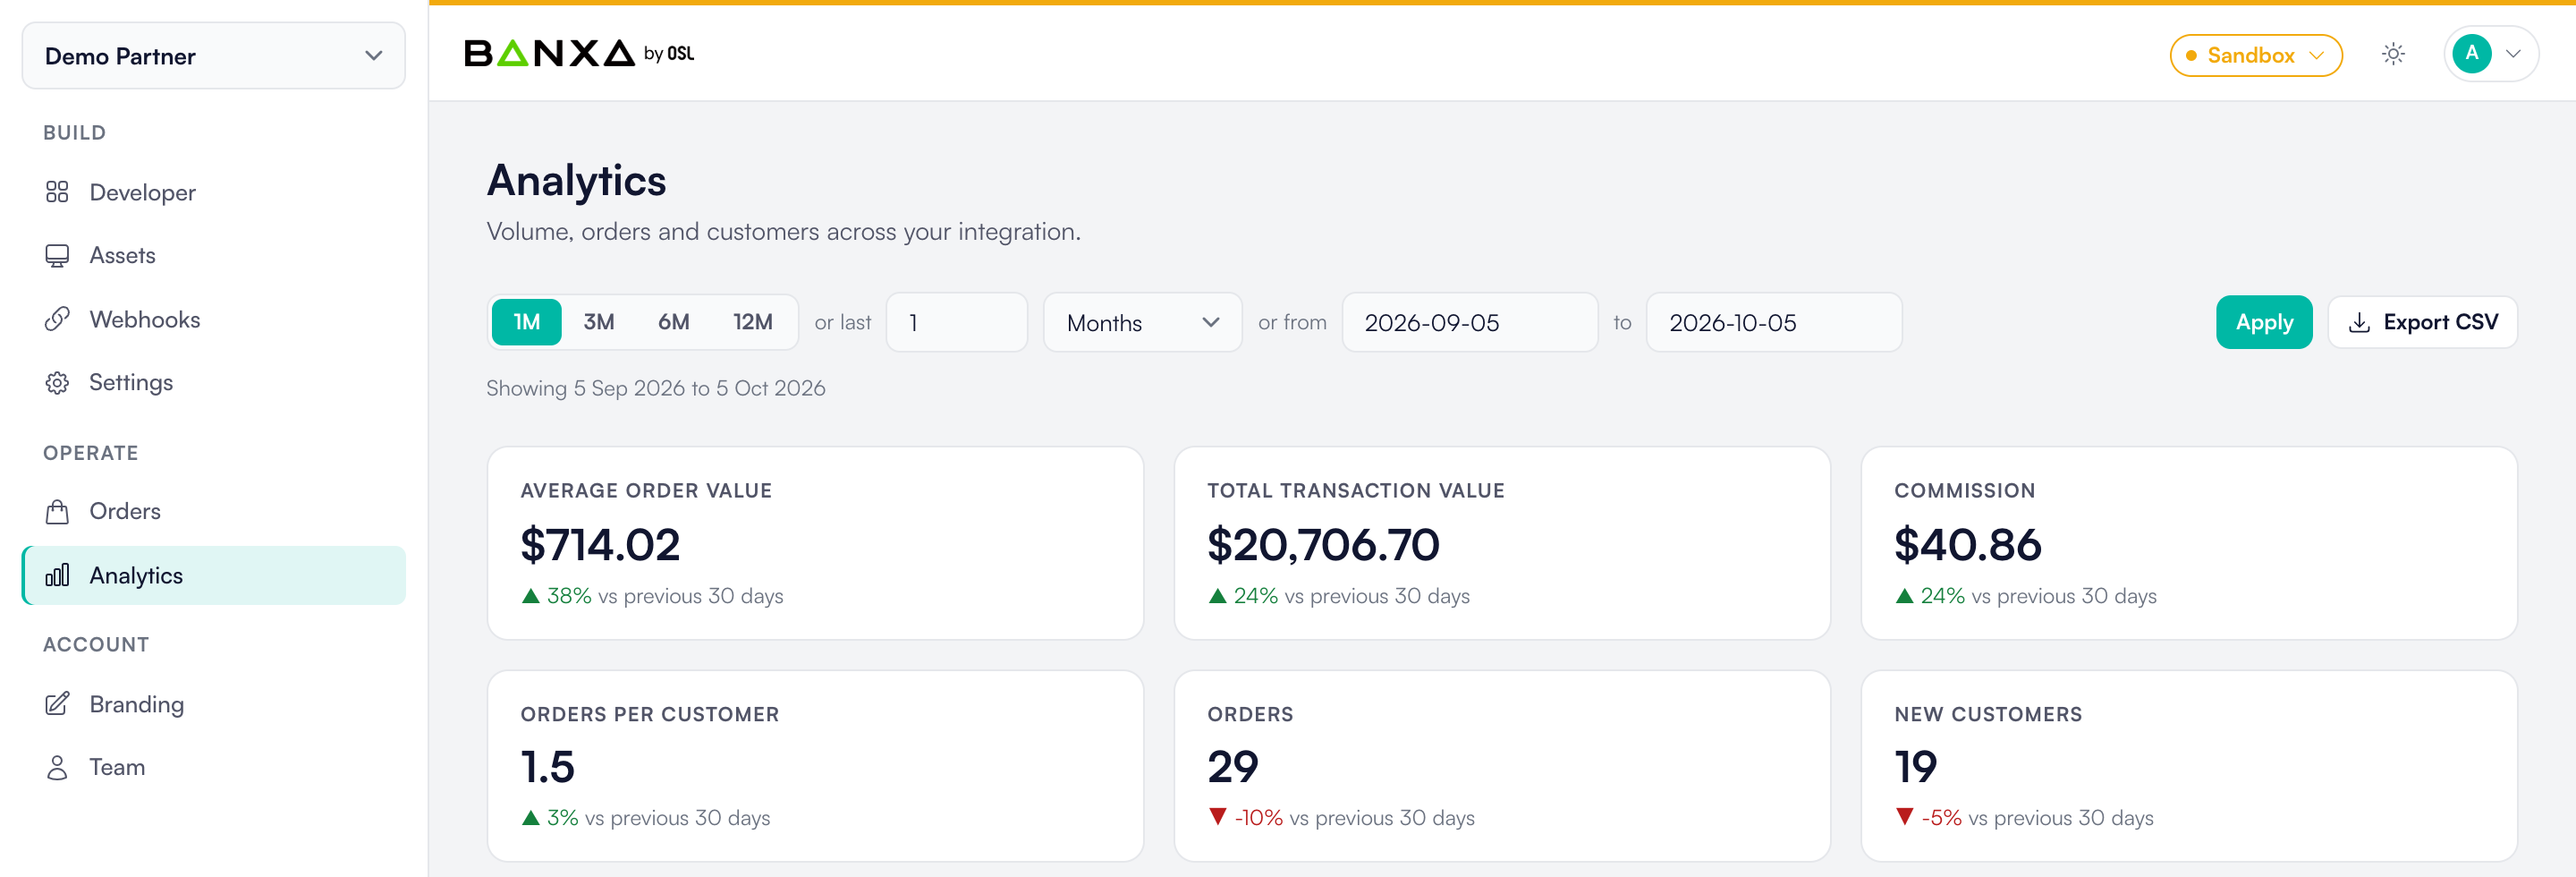
Choose a date range in one of three ways:
- Quick range — 1M, 3M, 6M or 12M back from today.
- Or last — a custom number of days, weeks or months back from today.
- Or from … to — a specific start and end date.
Click Apply to refresh the metrics and charts. Click Export CSV to download the filtered dataset.
| Metric | Description |
|---|---|
| Average Order Value | Mean transaction value across all orders in the selected period. |
| Total Transaction Value | Sum of all transaction values in the selected period. |
| Commission | Total commission earned in the selected period. |
| Orders Per Customer | Mean number of orders per unique customer. |
| Orders | Count of all orders in the selected period. |
| New Customers | Count of first-time customers in the selected period. |
Each metric shows the percentage change versus the previous equivalent period.
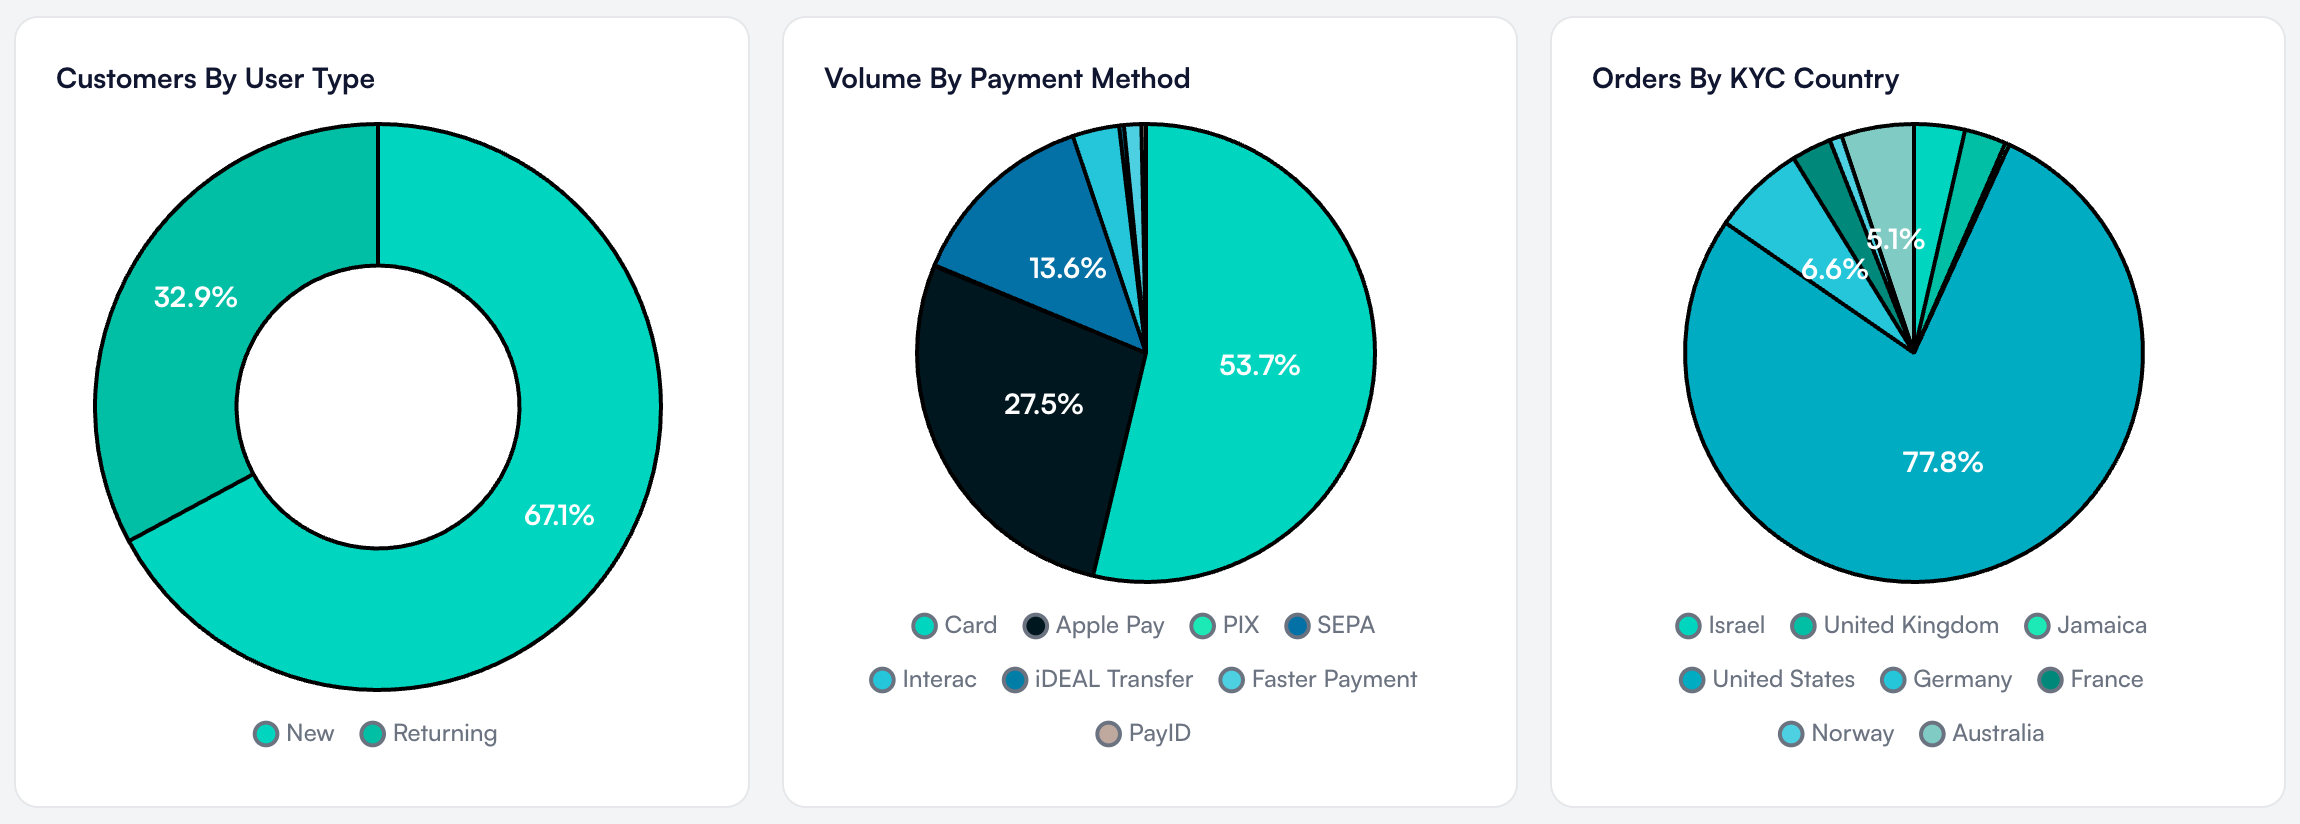
- Customers By User Type — breakdown of new vs. returning customers in the selected period.
- Volume By Payment Method — share of transaction volume across card, Apple Pay, and Google Pay.
- Orders By KYC Country — geographic distribution of orders by country of KYC verification.
Once you have completed end-to-end testing in Sandbox, contact Banxa to enable your Production environment. You will receive production credentials and can update your integration accordingly.