Partner Dashboard User Guide
Welcome to the Partner dashboard, where we provide you self-service capability to manage your Banxa integration, resolve Order queries for your users and soon be able to view reporting and insights.
Section 1: User Management
Creating New Roles and Assigning Permissions
When first gaining access to the Partner Dashboard, you will be able to add additional users from your company to the dashboard, however the primary account holder will first need to create roles and permissions before creating new users.
- Navigate to your Profile page from the top right hand corner drop down menu.
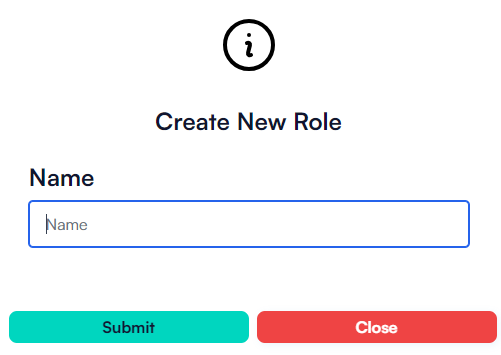
- Select the "Create New Role" button. An input form will appear and you can name the Role you want to create, for example "Developer", "Customer Office" or "Admin".
- Now that you have created a new Role, you will find it displayed on the page, and you will now be able to add Permissions to the Role. All permissions are set at the page level. For example, if a user has no access to "Read" the "Dashboard" permission, then the user will not be able to view the "Dashboard" page.

- After you have finished selecting the Permissions for the Role, you can click "Save".
Creating New Users and Assigning Roles
- Select the "Create New User" button.
- Enter the user's Name, Email Address (this email will be used to send a registration link) and Role.
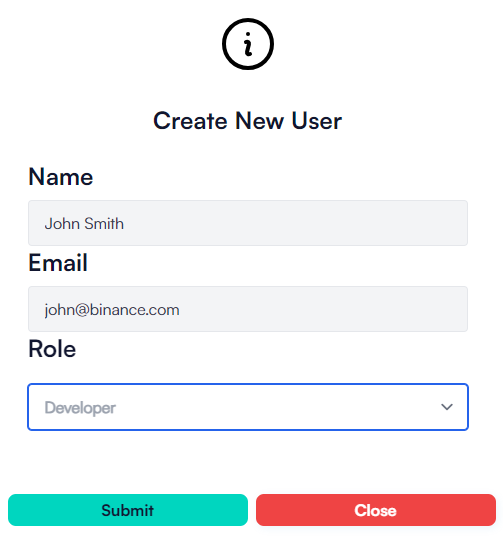
- Click on "Submit". After you have done this, a registration email will be sent to the user, providing them with instructions on how to set up their account on your Partner Dashboard. When they log in, they will have the Permissions that have have assigned to them.
Section 2: Integration Configurations
Available Configurations
Saving ConfigurationsAll configurations will take around 15 minutes to take effect on the live Banxa Checkout.
Environment toggleYou can use the environment toggle at the top of your dashboard to switch between Sandbox and Production settings.
Read-only Fiat, Cryptocurrency and Amounts (API only)
When using the API to create an order, this setting when true, will ensure that the fiat, cryptocurrency and amount selections on the Banxa checkout screen read-only. Otherwise, these fields will be editable by the user.
Disable WalletConnect and MetaMask Connection
This configuration will allows your users to connect their wallet's directly on Banxa Checkout using a MetaMask or Wallet Connect button.
Display User's Wallet Address and Memo
This configuration will make the user's wallet address and memo/tag (if passed in the API or link) be displayed when the user is redirected to Banxa. If this configuration is set to false, then the user's wallet address and memo/tag will be hidden.
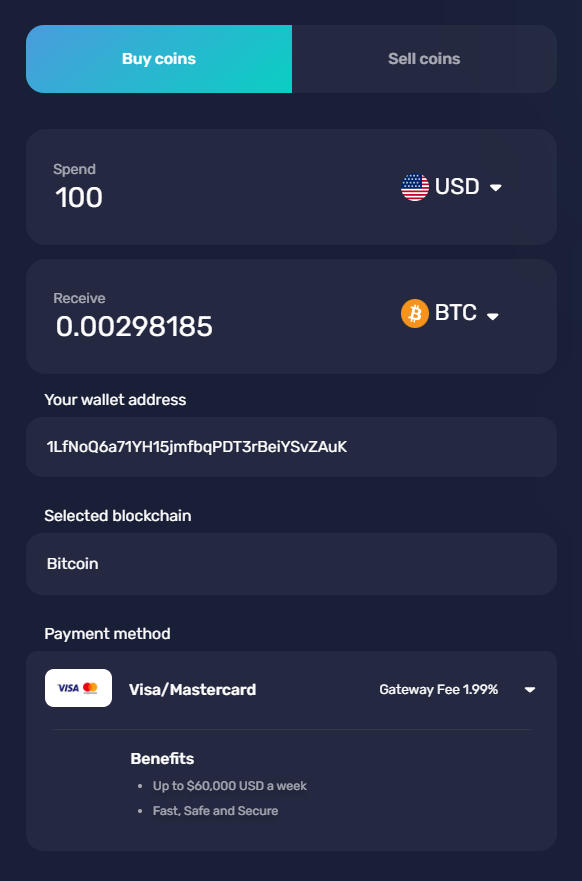
Order Form with a Wallet Address
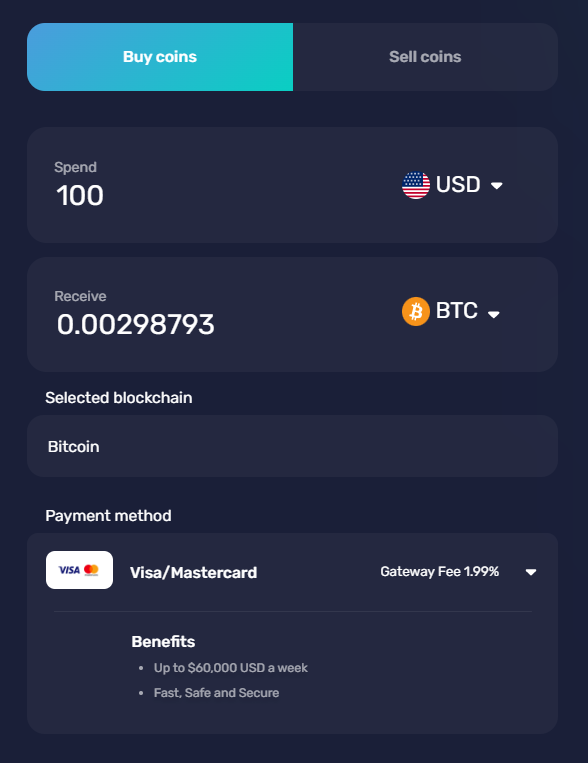
Order Form without a Wallet Address
Set the Default Cryptocurrency
This is the default cryptocurrency for all your users when they are redirected to Banxa Checkout.
Hide Return Button
When this setting is true, the Return button that is shown on the Order Summary page when the user has completed checkout will not be displayed. This may be used if you wish to create your own close button over the Banxa screen.
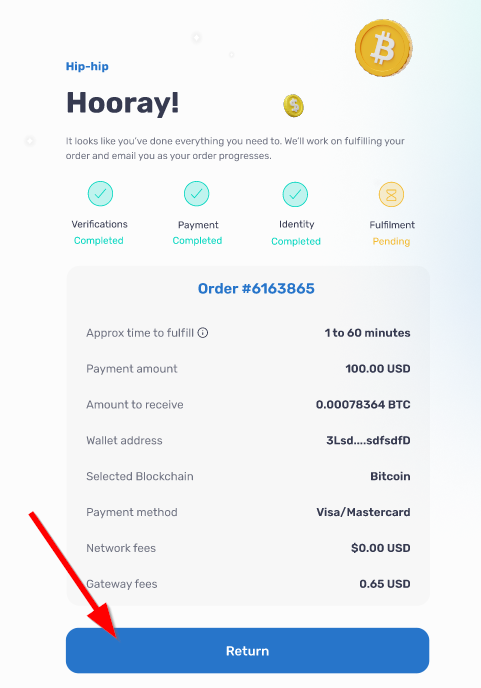
Final Order Summary Page
Coins and Blockchains
This configuration will allow you to set what cryptocurrencies and blockchains are available for your users to select from. By default, all options will be available until they are de-selected. Please note that native tokens for a blockchain cannot be de-selected.
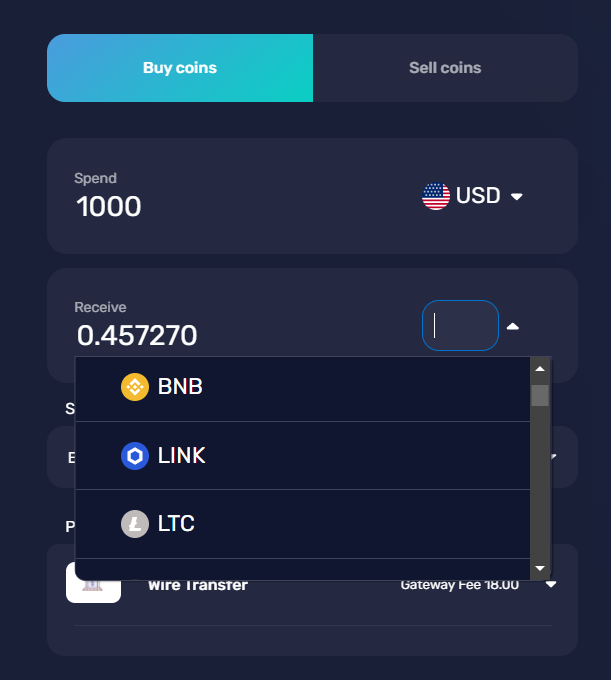
Cryptocurrency Selector
Upload Logo
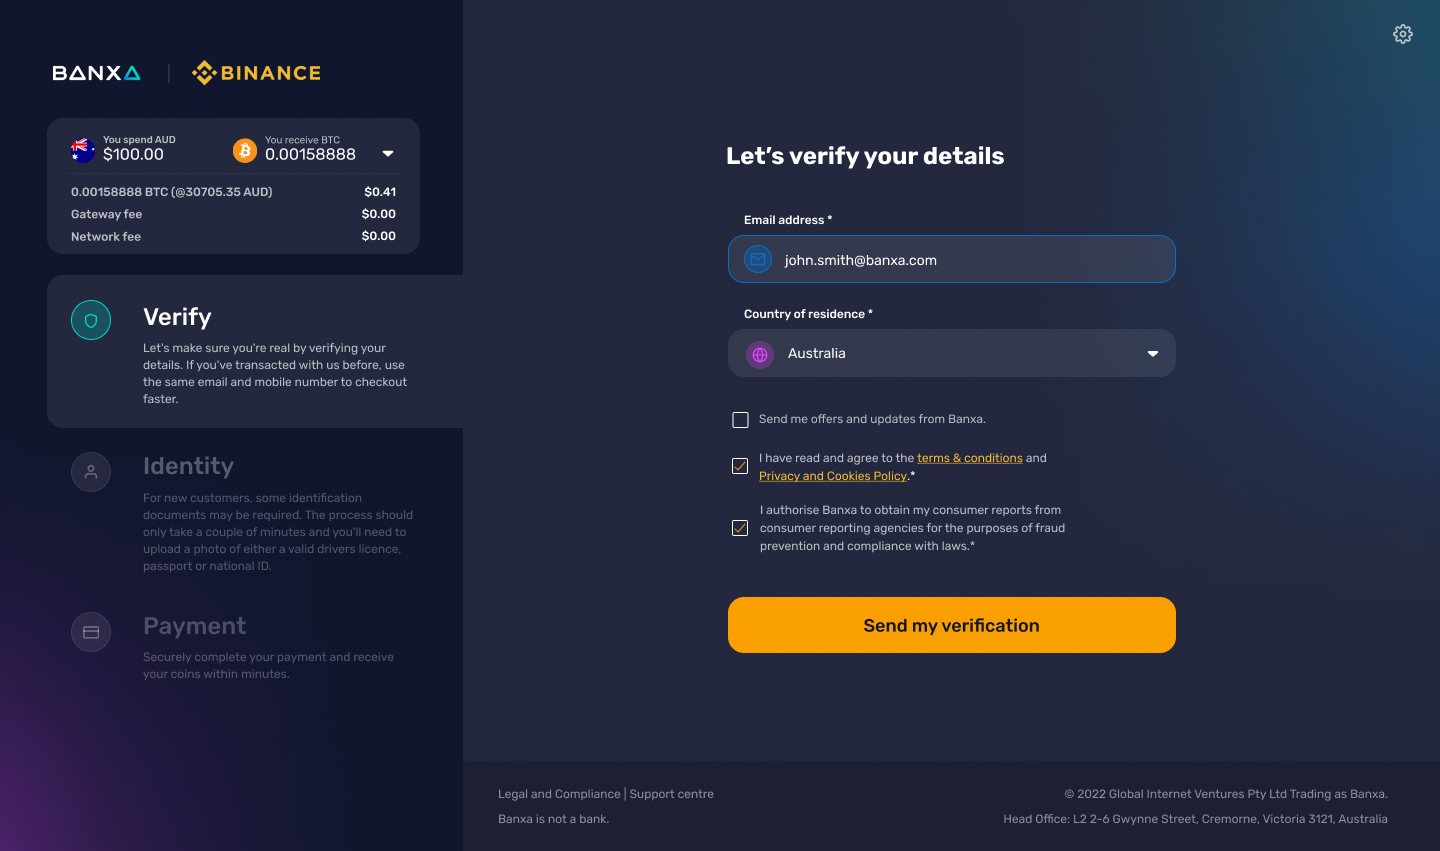
This is the logo that will be displayed on the Banxa Checkout screens on all pages of the checkout flow. This image must be uploaded with a maximum of 70 pixels height. In this example, the Binance logo has been uploaded.
Order Form with Binance Logo
Primary Color
This will be your brand color that will be used for the buttons, highlighted texts and checkboxes.
Order Form with Binance Brand Color
Secondary Color
This is the the color used when button hover over effects.
Theme
This configuration will allow selection between Dark and Light mode. Please note that if the user changes the theme from their browser, then this will override the default selected by you.
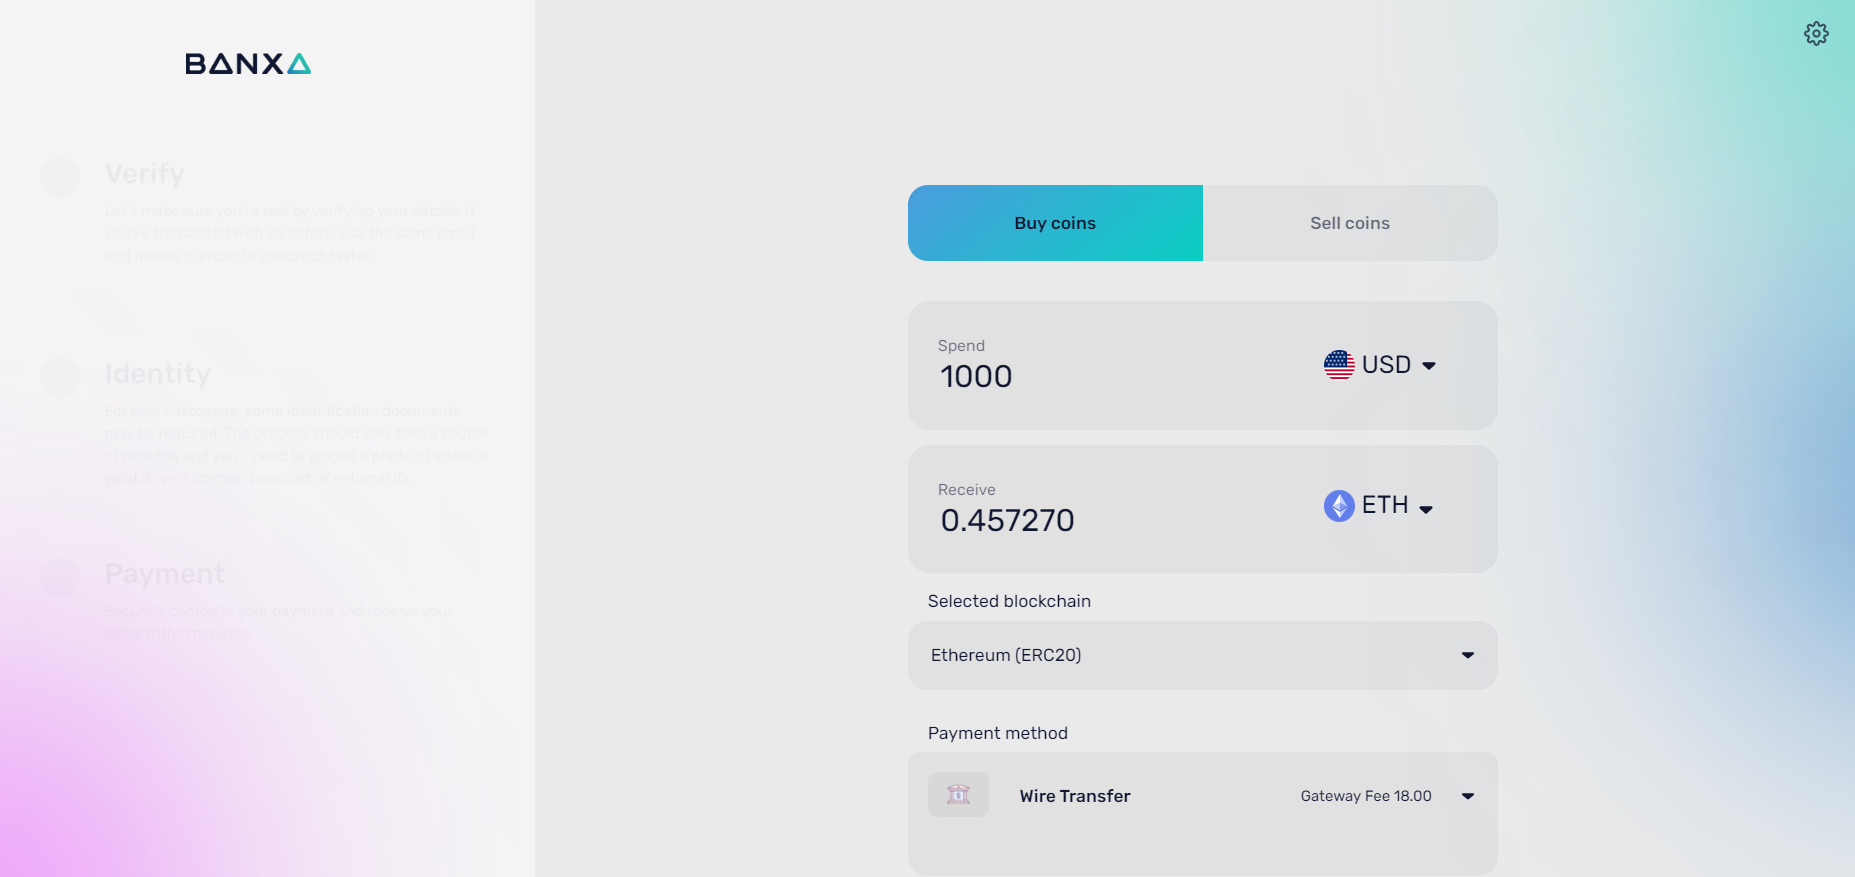
Example light mode
Example dark mode
Order Form with Binance Logo
Hide Banxa Logo
Enabling this toggle will hide both the Banxa logo and your logo on all pages of the checkout journey.
Background Color
Using this setting to apply a custom solid background color to all pages of the checkout journey.
Your Webhook URL
If you would like to receive webhooks for all status changes on your orders, you may put your webhook URL here and we will send your webhooks to that URL. You can put in different webhook URL's for your sandbox and production environments.
For more information on how to implement webhooks, please find the documentation here: https://docs.banxa.com/docs/webhooks
Send Webhook
After you have saved a Webhook URL, you may test the webhook by clicking on the Send button. We will send a webhook to the URL that you have set and the results will be displayed on the screen.
Return URL
This is the callback URL that will be used to return your user back to your application after they have completed the Banxa Checkout flow. If you are already passing this parameter in the API i.e. return_url_on_success then that will take precedence.

Order Summary Page with a Return button back to the Binance app
Dynamic callback URL variables
If you have set a Return URL, then this configuration will allow you to indicate if you want any order related parameters that can be appended to that Return URL. e.g. https://yourCompanyName/?orderId={509427}&fiat={AUD}&fiatAmount={0}&coin={BTC}&coinAmount={0}&orderRef={12a320b36117089a9e94b3e8acd4cf5d}&orderStatus={Expired}&fulfillmentStatus={Pending}&paymentStatus={Expired}&identityStatus={Complete}
This configurations provides the opportunity for you to know order details after the user has submitted their order, and to deep link your customer to specific pages on your application.
Section 3: Orders
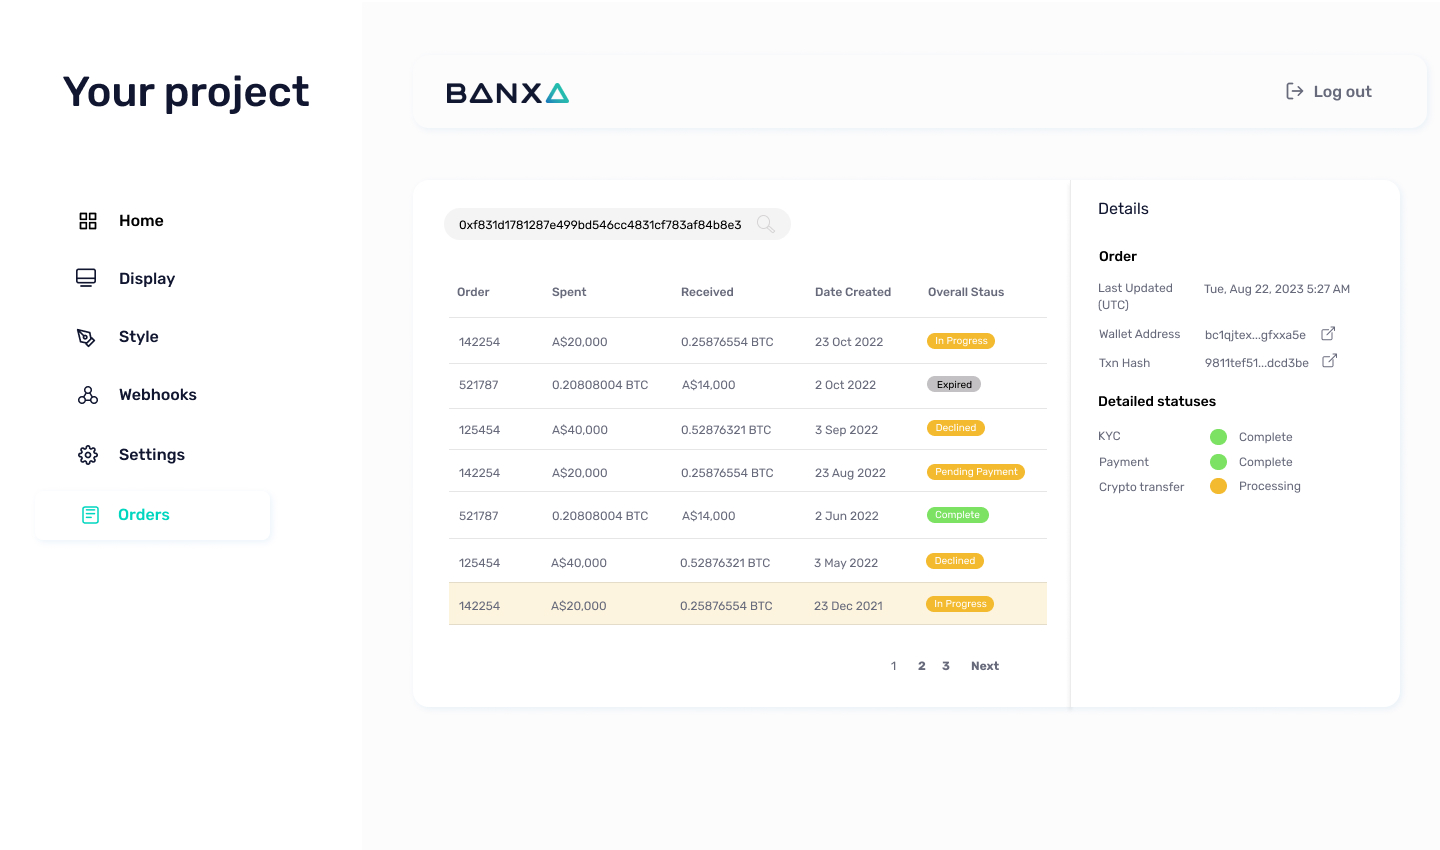
Using Order Lookup to resolve customer queries
This page is where you can go to view the live status of orders and is designed to support you support your customers. You will be able to search orders by wallet address or the short form 8-digit order ID e.g. 13476893, search results will be displayed and you will be able to click into any order to view detailed order statuses.
Environment toggleYou can use the environment toggle at the top of your dashboard to switch between Sandbox and Production orders; however this will be most useful in Production so that you can assist with custome queries.
Order Statuses and Customer Responses
The below table provides a description of each of the Order Statuses as well as suggested Canned Responses to resolve most customer enquiries in relation to the status of their order.
Status | Description | Canned Responses |
|---|---|---|
cancelled | The payment was cancelled by customer. | Your payment was cancelled by you or your financial institution. Please create a new order if you wish to proceed. |
coinTransferred or cryptoTransferred | Crypto transaction submitted to blockchain. | Your cryptocurrency transaction has been submitted to the blockchain and is awaiting confirmation at which point you will receive your coins. |
complete | The customer's order has been fulfilled | BUY Orders: Your order has been completed, and your cryptocurrency transaction is now available on the blockchain. Please check the transaction hash for details. SELL Orders: Your order has been completed, and payment has been made to your bank account. It may take your financial institution up to 3 business to reflect this transaction in your account. |
declined | The payment was declined by the customer's bank. | Unfortunately, your order has been declined by your financial institution. Please contact your financial institution's support for further assistance. |
expired | The order was not completed because:
| Your order has expired as it was not completed within the specified timeframe or your KYC/Payment was not successful. Please create a new order if you wish to proceed. |
extraVerification | Additional ID/address verification is required. | Your order is undergoing extra verification, such as ID and address verification. If they haven't already, Banxa's customer support team will be in touch with you shortly via email to assist in completing the order. |
inProgress* Please be aware that this status is marked for deprecation this year. | Payment has been received, but is being reviewed before it can be fulfilled | Your payment information has been received and your order is currently being verified and processed. Thank you for your patience. |
paymentReceived | Payment has been received, but is being reviewed before it can be fulfilled | Your fiat payment has been received by Banxa and confirmed by the payment system. Banxa is now processing your order. |
pendingPayment | Order created, awaiting KYC/Payment submission. | Banxa has received your KYC information and is awaiting your payment to complete the order. |
waitingPayment | Payment has not been received either because:
| Your payment has not yet been received by Banxa. If you have already made the payment this is most likely because it is still in transit. Once Banxa receives your payment your order will be processed. |
refunded | The order was refunded either at customer's request or because Banxa could not accept the payment (e.g. it was a 3rd Party payment) | BUY Orders: Your order has been refunded by Banxa. Please note that it may take your financial institution up to 14 days to reflect this transaction in your account. SELL Orders: Your order has been refunded by Banxa. Please check the transaction hash for details. |
Updated 2 months ago